How to String a Tennis Racket: A Step-by-Step Guide for Beginners
Juan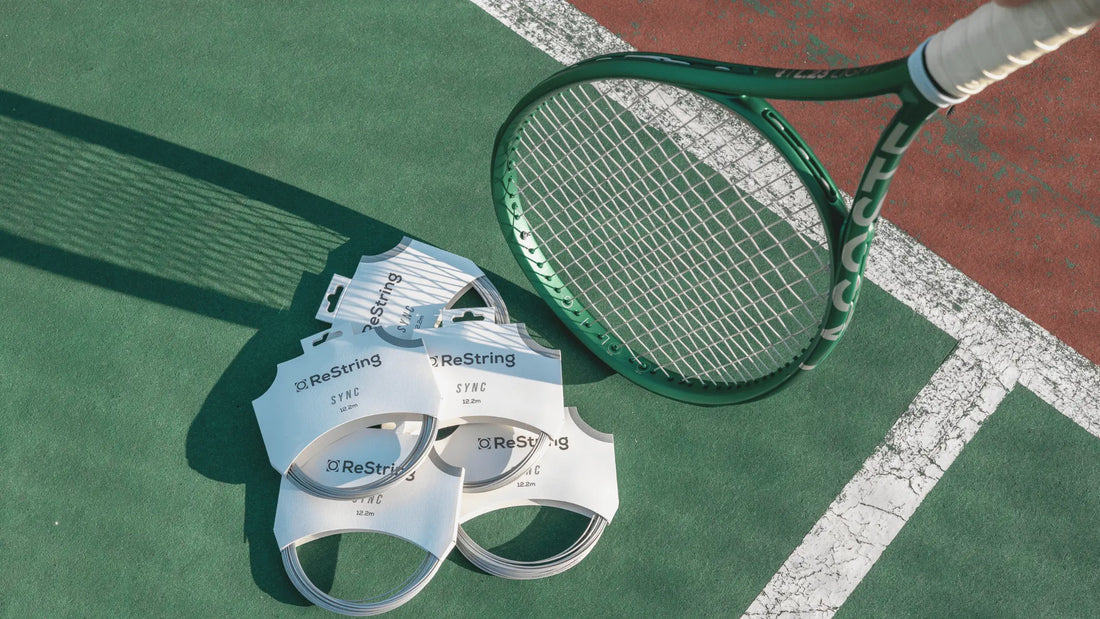
What to Know Before Stringing Your Tennis Racket
Before diving into stringing your tennis racket, it's crucial to understand your equipment and how different components work together. This knowledge will help you achieve better results and prevent common mistakes.
Let's break down the key elements you need to consider:
Understanding Your Racket's Characteristics
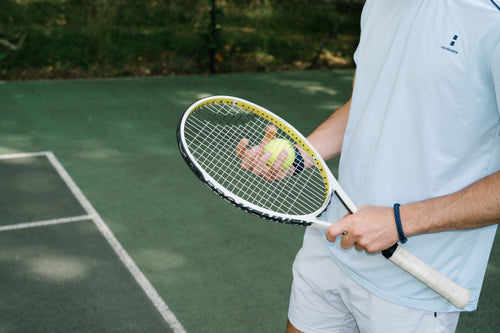
Every tennis racket has unique stringing characteristics that affect how you'll approach the stringing process. Before starting the string job, you want to make sure you are familiar with the racket you have since this will help you prevent mistakes and make it easier.
String Pattern Density
The string pattern of your racket significantly impacts the stringing process. Dense patterns (like 18/20) typically require more string length. Open patterns (like 16/19) need less string and create wider spacing between strings.
Head Size
Your racket's head size directly affects string requirements. Smaller frames (95 sq inches) need different string lengths than oversized rackets (105+ sq inches). Generally, larger head sizes require more string material.
String Geometry
Each racket model has its own unique stringing layout. Some require skipping specific holes during the stringing process. You may encounter shared holes where main and cross strings exit the same point.
Choosing the Right String
The type of string you select will give you a very different stringing experience and will influence final playability:
String Characteristics
Softer strings (multifilament, natural gut) will require more stretch during stringing since they are more elastic. Stiffer strings (Zero or Sync) will give you more 'trouble' when weaving the crosses since they're a bit more stiff but give much better playability.
Selecting Your Stringing Machine
Your choice of stringing machine impacts both process and results. There are different machines that offer different things, so it is best to experiment and find what works for you.
Machine Types
Electronic machines offer the highest precision, but they come at premium prices. Drop weight machines provide budget-friendly options for home stringers. Manual crank machines balance cost and accuracy.
Considerations
Match the machine type to your needs and budget. Consider frequency of use when making your choice, and remember that for beginners, patience and proper technique matter more than machine type.
Step-by-Step Stringing Process
Preparation
Thoroughly clean your racket, removing any debris and checking for damaged parts. Before beginning, inspect and replace any broken grommets or damaged bumper guards.
Cut old strings at the center of the racket to remove them. This method releases string tension evenly across the frame, preventing potential stress damage.
Choosing Your Method
Two main stringing methods exist: one-piece and two-piece.
The two-piece method is recommended for beginners as it's more forgiving and allows for hybrid string setups. With this method, you'll use separate strings for mains and crosses.
Stringing the Main Strings
Begin at the center mains and work outward symmetrically.
This balanced approach ensures even tension distribution across the frame. Remember to skip appropriate holes for cross strings and secure each main string with proper tension before moving to the next.
Before proceeding, each main string should be pulled to your target tension and clamped securely. Make sure you maintain consistent tension throughout the whole process. End with a reliable finishing knot.
Stringing the Cross Strings
Start cross strings from the top of the frame.
Create a secure starting knot, then weave carefully through the mains, maintaining consistent tension throughout.
Pay special attention to string spacing. Each cross should lie perfectly perpendicular to the mains, creating uniform "boxes" across the string bed.
Weave gently to avoid damaging main strings.
Managing Tension
Gradually and consistently apply tension. Sudden or uneven pulling can damage both strings and frame. Each string should match your target tension, which depends on your string choice and playing style.
Our Zero and Sync strings are engineered for excellent tension maintenance, but proper installation and maintaining steady tension throughout the stringing process is crucial for optimal performance.
Common Mistakes and Troubleshooting
One of the most frequent mistakes beginners make is applying inconsistent tension during the stringing process. Over-tightening breaks strings and can damage frames, while under-tensioning creates poor playability. Always maintain steady, even pressure when pulling tension.
Poor preparation also leads to problems. Before starting, measure string length accurately and verify your stringing pattern to avoid running out of string or making wrong hole selections.
Uneven weaving during the cross strings frequently causes problems. Improper weaving creates uneven spacing and affects play quality. Keep crosses straight and perpendicular to mains.
Incorrect knot tying is a critical error that leads to tension loss. Both starting and finishing knots must be tight and correctly tied to prevent tension loss across the string bed.
Watch for string coils that may develop during installation. These coils create weak points in your string bed and can lead to premature breakage. Always keep the string straight and free from twists as you work.
Maintenance and Upkeep
Taking care of your freshly strung racket is easy. After playing, give it a quick once-over to spot any frame damage, worn grommets, or bumper guard issues.
If you store your racket in a cool, dry place and avoid leaving it in hot cars or direct sunlight, it will last longer.
A little prevention goes a long way. Add some protective tape to high-wear spots and swap out worn grommets to keep your strings in great shape.
Tips for Efficient Stringing
Consistent practice leads to faster and more precise stringing. Each racket you string helps develop muscle memory and technique.
An organized workspace allows for smoother stringing. Make sure to keep tools within reach and maintain a clear working area.
Consider using a crank or electric stringing machine to reduce physical strain and improve consistency while you string your racket.
Conclusion
Stringing a tennis racket is a valuable skill that combines technical knowledge with hands-on practice. With patience and the right equipment, you can achieve professional-quality results at home.
The string you choose matters as much as your technique. For powerful, spin-focused games, Zero provides excellent snapback and durability. If control and feel are your priority, Sync offers outstanding precision and tension maintenance.
Proper stringing and string selection will elevate your game and ensure consistent, high-quality performance on court, whether you're stringing your first racket or refining your technique.